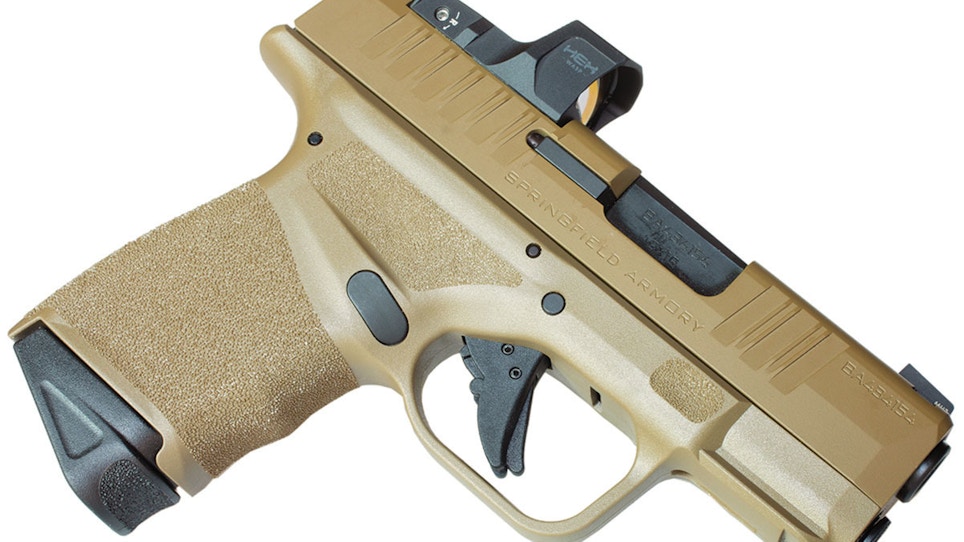
Once upon a time, mounting any sort of optic on a handgun required the intervention of a gunsmith, one with a deep knowledge of metalwork and surgeon-like skills at the bench. Not everyone engaged in the practice had the talent required and, as a result, there’s no shortage of Frankenpistols collecting dust in gun safes today.
Early attempts that were pleasing to the eye, with performance to match, quickly gained the attention of enthusiasts. It didn’t take long for tactical shooters to recognize the advantages, and today pistol optics are a hot-selling accessory. Odds are good you have a generous inventory on hand, and whether a customer is looking for a self-defense edge or simply struggling to focus on the front sight, red-dots are a solid recommendation at the checkout counter.
Today gun manufacturers even offer factory slides pre-cut for their mounting. It’s a welcome and long-overdue approach, although there’s still room for a different kind of human error. Not every company agrees on the milled pattern — or footprint — for mounting. Mixing doesn’t go well, and the confusion is frustrating for the average enthusiast.
Optics manufacturers provide different adapters and plates to anchor their products, regardless of footprint, but gun company offerings evolve quickly. Some of the latest ultra-thin carry handguns, for example, are not particularly suited for many of today’s standard mounts.
Most tactical retailers are familiar with the situation and make the right recommendation. The ease of mounting the right red-dot, however, opens an opportunity for a fast and efficient, value-added customer service. Expressing a willingness to help a customer avoid purchasing and having to return the wrong unit goes a long way toward building a loyal patron. Many will jump at the offer for an installation. Here’s a look at how easy the task is.
As always, safety is first and foremost. Point the pistol in a safe direction, engage the manual safety — if it has one — then remove the magazine. Work the slide to eject any live cartridge, then lock it back to visually inspect to ensure no ammunition remains in the chamber. Remove the magazine and ammo from your immediate work area.
After discussing with the customer and determining the proper red-dot for the pistol, open the selected unit’s package. Consult the instructions and inventory parts. Do the same with any aftermarket adapters or plates required for installation. There can be a lot of tiny parts involved, so avoid frustration by making sure everything’s there before you begin.
Insert the red-dot’s battery and turn it on. Work the controls and double-check it is operating properly. You don’t want to discover a dead power source or uncover another problem after you’ve completed this process.
Although not mandatory in all situations, removing the slide from the pistol minimizes the chances of marring anything and adds another layer of safety. Now you’re ready to focus on the protective plate that manufacturers ship on optics-ready handguns and the tight-tolerance footprint below.
It goes without saying its atop the slide, toward the rear sight. Select the proper tool, loosen the screws and remove. Hand them to the owner or, better yet, place in a plastic bag before doing so. If they decide to sell or trade the handgun later, having the parts on hand gives them the option of retaining the optic.
Inspect the surface of the footprint closely and clean debris if necessary. Anything left underneath could compromise the fit or work loose under recoil. You need to take a close look at the bottom of the optic and any required adapters for the same reason. Even small bits of packing material need to be removed before mounting the red-dot.
Now you’re ready to insert the optic into the footprint (and adapter if needed), checking that the mount is secure. Once satisfied with fit, align screws/bolts and tighten to manufacturer’s specifications. A drop of thread-locking compound is a good idea, but do not use permanent or “red” formulas that require heat for removal. The battery will need replacing sooner or later, after all.
Reassemble the pistol and work the slide several times to double-check installation snugness. Now you’re ready to present the red-dot-equipped pistol to the owner. Confirm familiarity with the optic’s operation and be sure to provide all manufacturer instructions and spare parts.
The optic still needs to be sighted in, although if your shop is properly equipped, it’s not a bad idea to adjust windage and elevation to get the gun on paper. Do it right and you’ve created another loyal fan, one ready to spread the news about your service, attention to detail, knowledge and willingness to go the extra mile. They’ll remember that the next time they’re ready to make a purchase, and think twice before visiting your nearest competitor or hitting “purchase” online.


