AR-15 accessories hold the spotlight, dominate headlines and fuel tactical retail sales. Those sights, lights, lasers, stocks and gadgets increase the probability of first-shot hits, enhance function and ooze pheromones to improve love life.
Survey results are mixed on the latter advantage, but there’s no denying manufacturers have harnessed cutting-edge technology in clever ways to deliver the performance gun enthusiasts deserve. Of course, it’s all for naught if the gun has a habit of stoppages or its recoil makes follow-up shots slow enough to rival dial-up Internet.
It’s for that reason wise tactical retailers often maintain a modest inventory of the small parts that keep an AR-15 running. Some aftermarket offerings allow fine-tuning without straining a budget.
They’re not worthy of valuable display space, but loyal customers remember — and will eagerly spread the news — when you stock a replacement for a tiny spring they lost. No need to wait for that online order to arrive when your store has it in stock and the staff is eager to check fit.
The profit margin is modest, but the return-business benefit is considerable. Some replacement parts even encourage fledgling gun owners to fine-tune and get serious in their newfound passion.
Buffer weights are one of them, thanks to the critical role they play in an AR-15’s gas-operated system. Customers experiencing problems in reliability, battling recoil that stalls follow-up shots and bolt carrier group wear often find a solution in a replacement.
There’s a host of variables that come into play when trying to optimize buffer weight for reliability and performance. Gun manufacturer, age, maintenance, bullet weight, elevation and others come into play, but shooter preference and comfort are also involved.
For that reason, more than any other, recommending the purchase of a couple buffer weights of different mass is sound advice. It isn’t an expensive proposition, either. If the customer is unfamiliar with the swap-out process, walk them through it during your replacement. Armed with that information, they’ll be ready to tune.
Most factory AR-15s are slightly over-gassed to improve reliability. For that reason, and doubly so if recoil slows follow-up shots, your first recommendation may be a heavier buffer weight.
The installation is fast. First select an appropriate model, open the package and inspect imperfections that could impede travel or compromise solid contact with the bolt carrier group.
Then point the gun in a safe direction and engage the safety if is not already in that position. Drop the magazine and place it away from your work surface. Work the charging handle and inspect the chamber to make sure no cartridge remains. Check twice and use a flashlight if necessary.
There’s a spring involved, so don safety glasses. Keep the firearm pointed in a safe direction and push out the takedown pin at the back of the lower receiver. Rotate the upper and lower receivers apart. Partially replace the retaining pin if it is not captive. That’s not required, but they have a habit of rolling off counters.
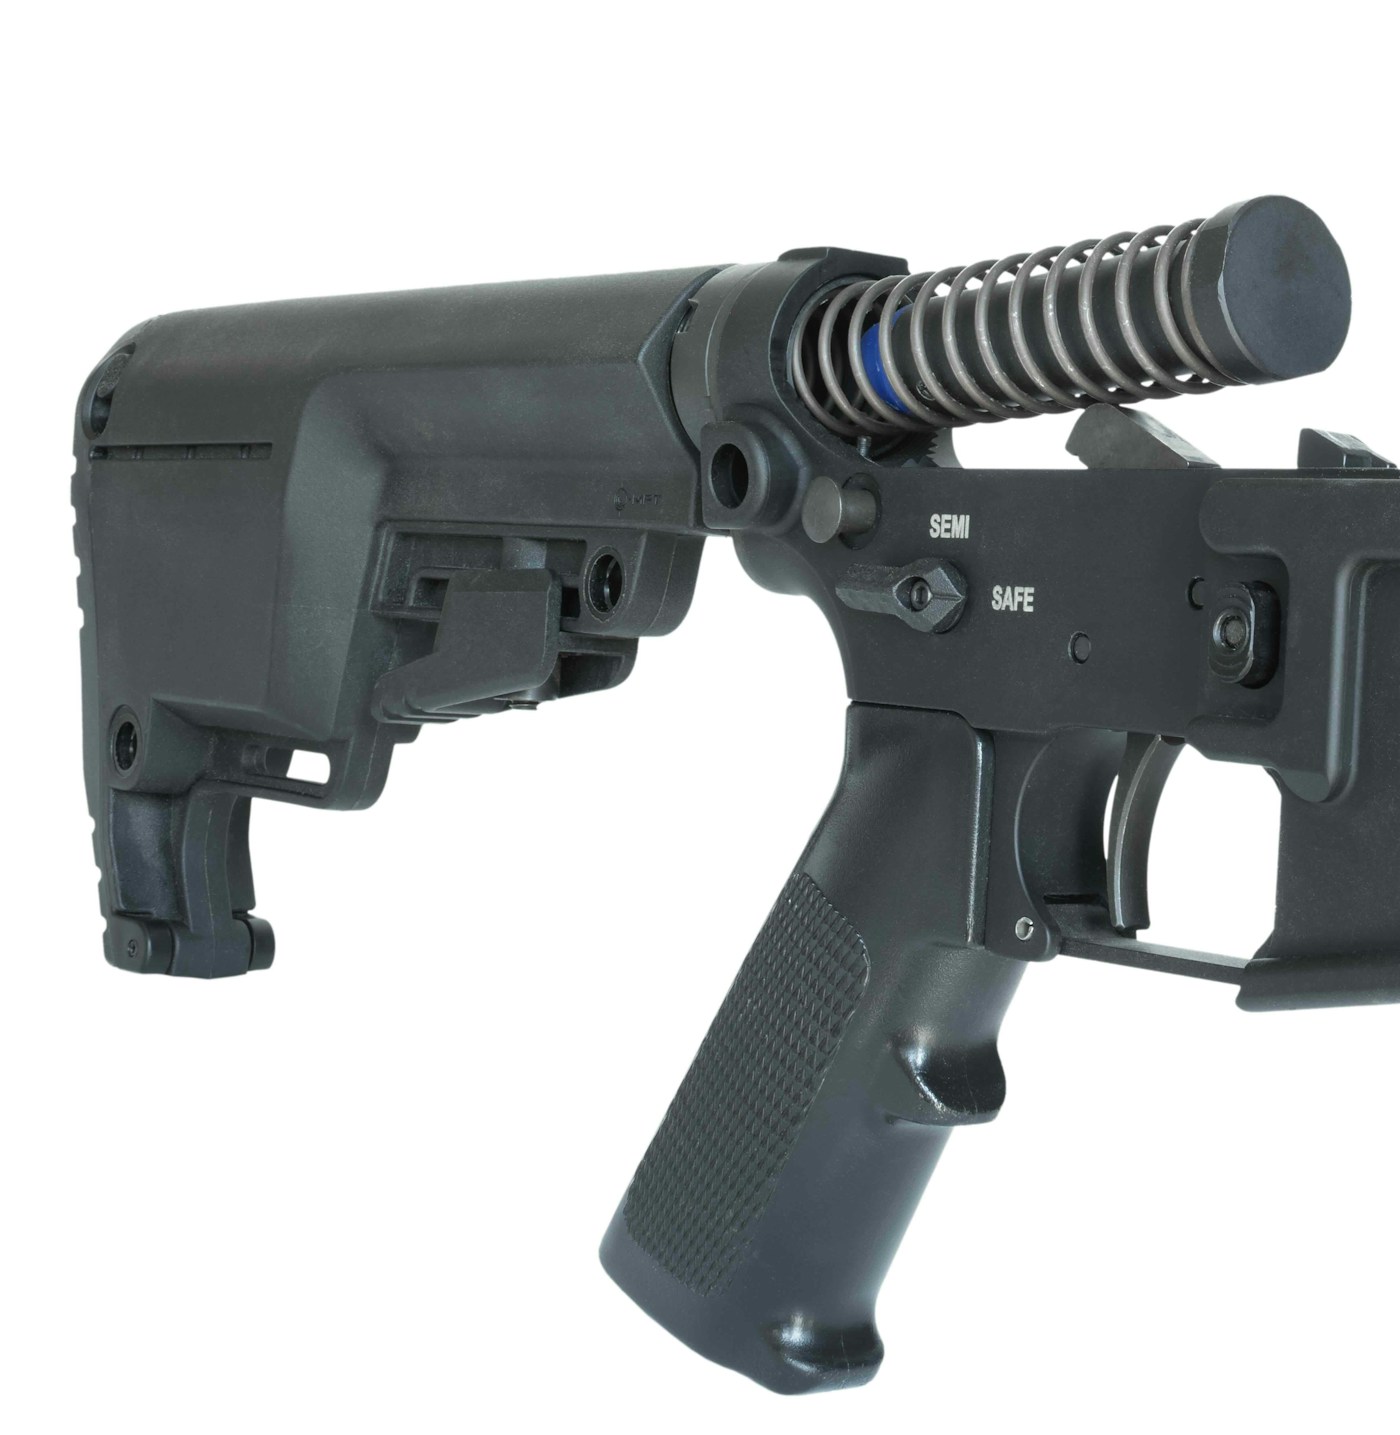
The buffer weight is now exposed at the bolt carrier group end of the buffer tube. It, and the buffer spring behind, are held in place by a small, spring-loaded buffer retainer. It’s in front of the buffer weight, on the bottom.
Use your index finger to apply pressure on the weight, pushing it back slightly and off the buffer retainer. Hold it in that position, then use a thin tool or fingernail to depress the buffer retainer. Slowly release pressure on the weight and it should glide over the retainer, coming free with the spring behind. Do so carefully to avoid marring. There’s no need for complete removal of the spring.
Grasp the buffer weight, while holding the spring, and pull it out. Odds are good you’ll need to rotate the weight for it to come free.
Now install the replacement weight, ensuring the spring seats firmly and completely against it. Rotating helps. Once together, slide it and the spring carefully back into the buffer tube, turning if necessary to ease it over the retainer.
The bolt carrier, and spring behind, should apply enough pressure to depress that retainer and spring underneath as you push it in. If not, rotate the buffer weight slightly and try again. The beveled edges are the key to effortless installation, but they’re a challenge to index in that dark tube.
Reassemble the receivers and the job is complete — fast and effortless, just like a partial field strip. Remind the customer a serious range session is in now in order, and that you have plenty of 5.56 NATO in stock.
One—Open the package and inspect the new buffer weight. Look closely for burrs or sharp edges that can impede its free travel.
Two—Point the gun in a safe direction and engage the safety, if it is not already in that position.
Three—Remove the magazine and place it away from your immediate work area.
Four—Work the charging handle several times to eject any cartridge that remains. Then lock it back and inspect inside the chamber to ensure none remain. Double check and use a flashlight if necessary.
Five—While keeping the gun pointed in a safe direction, push out and remove the rear receiver’s rearmost takedown pin.
Six—Leave the front takedown pin installed and rotate the upper and lower receivers apart. Partially reinsert the rear takedown pin during this installation to minimize the chances it rolls off to parts unknown.
Seven—The buffer weight and buffer spring are in the lower receiver’s buffer tube. They are held captive by a buffer retainer (at the bottom and in front of the buffer weight). Use your index finger to move the buffer weight and spring slightly back and hold in that position. Then use a thin tool to depress the spring-loaded retainer and allow the buffer weight and spring to move forward and out of the buffer tube.
Eight—Once released, the buffer weight can be removed. They seat snugly, though, so hold the spring while rotating or wiggling the weight until it comes free.
Nine—Insert the new buffer weight. Keep a solid grip on the spring when doing so and apply enough pressure on the new weight that the spring makes solid and firm contact with the weight. Rotating the new unit may be required for complete seating.
Ten—Reinsert the spring if you’ve taken it completely out and push back on the buffer weight until it snaps securely in the buffer tube. If it doesn’t go in on the first try, rotate the weight slightly or change angle of entry. Those bevels are hard to see in the dark tube. Now reassemble the gun and you’re ready to send another happy customer out the door.


